Reference: 8436554360475ES
Brand: Green Stuff World
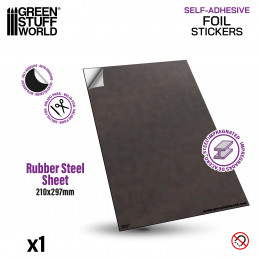
Metal sheets for magnets
Review(s): 8
Metal sheets for magnets | Rubber Steel Sheet Self Adhesive
Price €3.75
In stock
 Cookie preferences
We use our own and third party cookies to collect information to improve our services and to analyze your browsing habits. If you continue browsing, you accept their installation. You can configure your browser to prevent their installation.
Required cookies
Always active
These cookies are strictly necessary for the operation of the site, you can disable them by changing the settings of your browser but you will not be able to use the site normally.
Cookies used
Functional cookies
These cookies provide necessary information to applications of the website itself or integrated by third parties, if you disable them you may find some problems in the operation of the page.
Cookies used
Performance cookies
These cookies are used to analyze the traffic and behavior of customers on the site, help us understand and understand how you interact with the site in order to improve performance.
Cookies used
Guided cookies
These cookies can be from the site itself or from third parties, they help us to create a profile of your interests and to offer you advertising aimed at your preferences and interests.
Cookies used
The user is informed that he/she has the possibility of configuring his/her browser so that he/she is informed of the reception of cookies, being able, if he/she so wishes, to prevent them from being installed on his/her hard drive.
Below we provide links to various browsers, through which you can make such configuration:
Firefox from here: https://support.mozilla.org/es/kb/Deshabilitar cookies de terceros
Chrome from here: https://support.google.com/chrome/answer/95647?hl=es
Internet Explorer from here: https://support.microsoft.com/en-us/windows/manage-cookies-in-microsoft-edge-view-allow-block-delete-and-use-168dab11-0753-043d-7c16-ede5947fc64d
Safari from here: https://support.apple.com/es-es/guide/safari/sfri11471/mac
Opera from here: https://help.opera.com/en/latest/web-preferences/#cookies
Reference: 8436554360475ES
Brand: Green Stuff World
Metal sheets for magnets | Rubber Steel Sheet Self Adhesive
Reference: 8436554365050ES
Brand: Green Stuff World
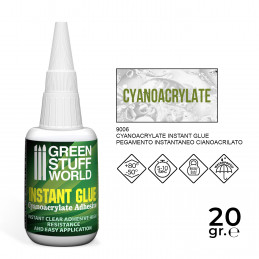
Instant glue | CA glue
Reference: 5035167000490ES
Brand: Green Stuff World
Milliput Standard Yellow Grey - Epoxy putty for all kinds of applications.
Reference: 8435646509365ES
Brand: Green Stuff World
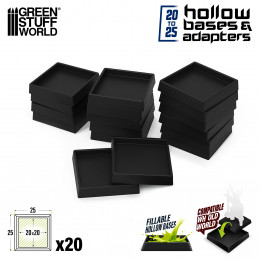
Black Plastic Bases | Black plastic base adapters 20-25mm
There are 23 products.
Reference: 8435646536361ES
Brand: Green Stuff World
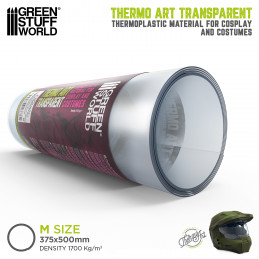
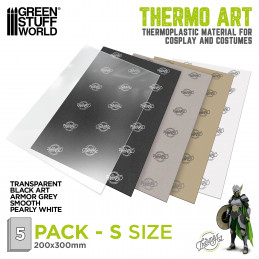
Cosplay ThermoArt Transparent | Clear thermoplastic material for thermoforming and modeling of Cosplay costumes and props
Reference: 8435646536354ES
Brand: Green Stuff World
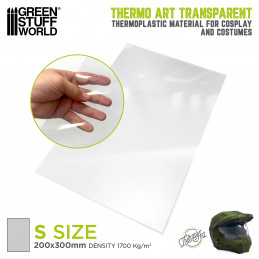
Cosplay ThermoArt Transparent | Clear thermoplastic material for thermoforming and modeling of Cosplay costumes and props
Reference: 8435646536149ES
Brand: Green Stuff World
Cosplay ThermoArt | Thermoplastic material
Reference: 8435646536293ES
Brand: Green Stuff World
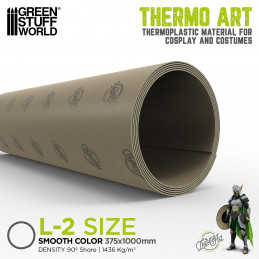
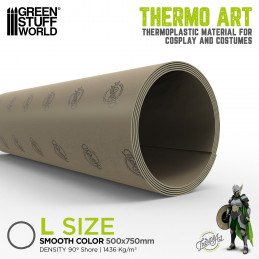
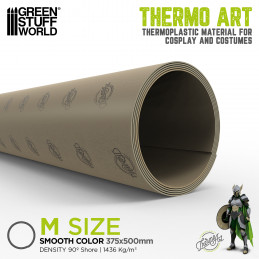
Cosplay ThermoArt Smooth | Smooth thermoplastic material for Cosplay, Modeling, and Crafting
Reference: 8435646536286ES
Brand: Green Stuff World
Cosplay ThermoArt Smooth | Smooth thermoplastic material for Cosplay, Modeling, and Crafting
Reference: 8435646536279ES
Brand: Green Stuff World
Cosplay ThermoArt Smooth | Smooth thermoplastic material for Cosplay, Modeling, and Crafting
Reference: 8435646536262ES
Brand: Green Stuff World
Cosplay ThermoArt Smooth | Smooth thermoplastic material for Cosplay, Modeling, and Crafting
Reference: 8435646536255ES
Brand: Green Stuff World
Cosplay ThermoArt Smooth | Smooth thermoplastic material for Cosplay, Modeling, and Crafting
Reference: 8435646536194ES
Brand: Green Stuff World
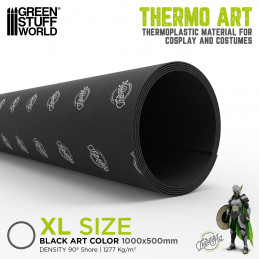
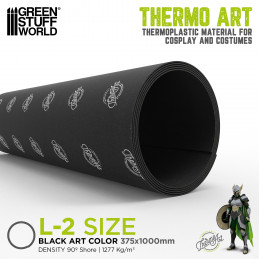
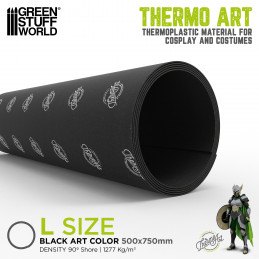
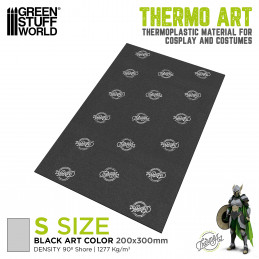
Cosplay ThermoArt Black Art | Thermoplastic material
Reference: 8435646536187ES
Brand: Green Stuff World
Cosplay ThermoArt Black Art | Thermoplastic material
Reference: 8435646536170ES
Brand: Green Stuff World
Cosplay ThermoArt Black Art | Thermoplastic material
Reference: 8435646536163ES
Brand: Green Stuff World
Cosplay ThermoArt Black Art | Thermoplastic material
Reference: 8435646536156ES
Brand: Green Stuff World
Cosplay ThermoArt Black Art | Thermoplastic material
Reference: 8435646536248ES
Brand: Green Stuff World
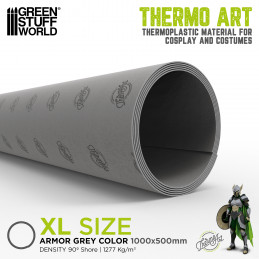
Cosplay ThermoArt Armor Grey | Thermoplastic material
Reference: 8435646536231ES
Brand: Green Stuff World
ThermoArt Armor Grey | Thermoplastic material
Reference: 8435646536224ES
Brand: Green Stuff World
ThermoArt Armor Grey | Thermoplastic material
Cosplay ThermoArt is a brand of heat-activated thermoplastics designed and manufactured by Green Stuff World in Spain for crafting, cosplay, and prop making, offering a versatile and cost-effective alternative to other Cosplay Thermoplastics.
This versatile cosplay moldable plastic becomes soft and pliable when heated, allowing users to mold and shape it into complex designs with ease. Once cooled, it hardens into a durable, stable structure, making it ideal for creating armor, weapons, and detailed costume elements.
One of its key advantages is its fine-grain mineral composition, which results in a smoother surface and a higher level of detail compared to coarser thermoplastics. This property reduces the need for extensive sanding, saving time and improving the final finish. Additionally, it can be cut, layered, sculpted, and even reworked multiple times by reheating, offering flexibility during the crafting process.
Cosplay ThermoArt adheres well to itself and to various materials such as foam, wood, and fabric without requiring additional adhesives. It can be painted directly or primed for more refined finishes, allowing for a wide range of artistic effects. Its durability ensures that completed projects withstand wear and tear, making it suitable for both display and practical use.
This thermoplastic is widely appreciated for its ease of use, making it accessible to beginners while still meeting the demands of professional prop makers and costume designers. Its affordability and efficiency in reducing material waste make it an excellent choice for large and small projects alike. Whether for cosplay, theater, film productions, or fine arts, it provides a reliable and high-quality solution for crafting durable and detailed creations.
Cosplay thermoplastics are materials that become soft and moldable when heated and harden again upon cooling. These materials are widely used in thermoplastic sheets cosplay to create armor, props, and intricate details because they are lightweight, durable, and easy to shape.
A new Cosplay moldable plastic making waves in this world of Fantasy and imagination appears: ThermoArt, developed by Green Stuff World. It offers superior flexibility, reusability, and ease of molding compared to traditional thermoplastics.
Using ThermoArt thermoplastic effectively requires understanding its heat-activated properties and the best techniques for shaping and forming it. Here’s a step-by-step guide to help you achieve professional results in your creative projects:
1. Cutting and Preparing Begin by cutting it into the desired shape using scissors, a utility hobby knife, or craft blades. The material is easy to cut when cool, allowing for precise shaping. Planning your cuts in advance is recommended, especially for detailed or complex designs.
2. Heating Activate this moldable plastic by heating it with a heat gun, hot water, or steam. The material softens at approximately 90°C (195°F), becoming flexible and easy to manipulate. When using a heat gun, maintain a safe distance and apply heat evenly to avoid overheating specific areas. Once softened, the thermoplastic becomes pliable and slightly adhesive, making it ideal for molding.
3. Shaping: While warm, it can be shaped by hand, draped over molds, or pressed into forms to create detailed textures. It allows for smooth, flat surfaces as well as complex curves. If needed, reheat and adjust the material until the desired shape is achieved.
4. Joining Pieces A major advantage is its ability to bond to itself when heated, eliminating the need for additional adhesives. This makes it especially useful for assembling multi-piece structures, such as armor, weapons, and props.
5. Cooling and Hardening: Once shaped, allow the material to cool. It will harden quickly, retaining the molded form. If further adjustments are needed, simply reheat and reshape as necessary.
6. Smoothing and Detailing: Thanks to its fine-grain mineral composition, it provides a naturally smooth surface, reducing the need for extensive sanding. However, for an ultra-smooth finish, you can apply a primer or base coat before painting. Additional layers or imprinted details can be added while the material is still warm for enhanced effects.
ThermoArt is a highly forgiving thermoplastic, making it suitable for beginners and professionals alike. Its ability to be reheated and reshaped multiple times ensures efficiency, versatility, and high-quality results in cosplay, prop-making, and creative sculpting projects.
Yes, you can sand ThermoArt thermoplastic, but to achieve the best results, it's important to follow specific techniques. Sanding is useful for smoothing the surface, removing minor imperfections, and preparing the material for painting. Here’s how to do it effectively:
1. Surface Preparation: Before sanding, try to make the surface as smooth as possible while the material is still warm. Use your hands or modeling Tools to flatten out any bumps or unwanted textures. This will reduce the need for extensive sanding later.
2. Sanding Technique: Once it has cooled and hardened, start sanding with coarse-grit sandpaper (120-180 grit) to remove any rough areas. Then, gradually transition to finer grits (220-600 grit) to refine the surface. Sand in a circular motion to avoid deep scratches or uneven marks.
3. Wet Sanding: For an ultra-smooth finish, wet sanding is highly effective. This method uses water or a lubricant while sanding to minimize dust and enhance the surface quality. Wet sanding is particularly useful if you plan to apply glossy or metallic paints.
4. Priming After Sanding Once the surface is smooth, applying a primer is recommended. The primer fills in any microscopic scratches and ensures that the paint adheres evenly. This step is crucial for achieving a professional, polished look, especially when working with reflective or high-gloss finishes.
5. Sanding Between Layers: If applying multiple coats of paint or primer, lightly sand between layers with fine-grit sandpaper to ensure optimal adhesion. This will enhance the final smoothness and overall quality of your project.
While sanding is not always necessary, it is highly beneficial for projects requiring a flawless finish. However, avoid excessive sanding, as it can thin the material and reduce its durability. When done correctly, sanding significantly enhances the appearance and texture of your final creation.
Painting ThermoArt is a simple process, but proper preparation is key to achieving the best results. Following these steps will help you create a smooth, durable, and visually appealing finish for your projects.
1. Surface Preparation: Before painting, ensure the surface is clean and smooth. If the material has been sanded, wipe it down with a damp cloth to remove dust. While ThermoArt naturally has a fine-grain surface that minimizes imperfections, applying a primer or base coat can further enhance paint adhesion and create an even surface.
2. Choosing the Right Paint Cosplay ThermoArt is compatible with acrylic paints, spray paints, and airbrush paint. Acrylic paints are a versatile and easy-to-use option, drying quickly and offering various finishes. Spray paints are excellent for covering large areas smoothly, while airbrush paints allow for detailed work and gradient effects.
If your creation requires some degree of flexibility, it is highly recommended that you use flexible paints to prevent them from cracking.
3. Applying a Primer It is highly recommended for a professional finish. It helps seal the surface, prevents paint from absorbing unevenly, and improves adhesion. Select a primer that is compatible with the type of paint you intend to apply. For example, an acrylic-based primer pairs well with acrylic paints.
5. Adding Details & Effects Once the base coat is dry, you can enhance your project with weathering effects, highlights, or shadows using techniques like dry brushing, washes, or glazing. Stencils or masking tape can help create sharp lines and intricate designs.
6. Sealing the Paint: To protect the painted surface, apply a clear sealant or varnish. You can choose between matte, satin, or gloss finishes based on the effect you want to achieve. Sealing helps prevent chipping, scratches, and fading, especially for projects that will be handled frequently or exposed to the elements.
Painting ThermoArt allows for endless creative possibilities, whether you want a sleek, polished look or a weathered, battle-worn effect. By following these steps, you’ll achieve long-lasting and professional-quality results in your cosplay, prop-making, or artistic creations.
Heating ThermoArt is essential for unlocking its full potential, as it becomes soft and moldable when exposed to the right temperature. Here’s how to properly heat and shape this thermoplastic:
1. Using a Heat Gun A heat gun is the most common tool for activating it. Set the hot air gun to around 90°C (195°F) and hold it 6 to 12 inches away from the material. Keep the heat source moving in a circular pattern to ensure even distribution. The thermoplastic will gradually become soft and pliable. Avoid overheating a single area, as this may cause warping or burning.
2. Using Hot Water or Steam If you don’t have a heat gun, you can submerge ThermoArt in hot water (around 90°C or 195°F) for a few seconds until it softens. Alternatively, a steamer can be used to apply heat evenly. Once the material is warm and flexible, carefully remove it using tongs or gloves, then begin shaping it.
3. Shaping & Forming When heated, it becomes highly moldable. You can:
For complex designs, it’s best to heat and shape small sections at a time to maintain better control. The material remains flexible for a few minutes, allowing for adjustments before it cools.
4. Layering & Bonding One of the major advantages of Thermo Art is its self-adhesive property when heated. This means that when two heated pieces are pressed together, they will bond without the need for glue. This is especially useful for constructing multi-layered structures like armor, props, and cosplay accessories.
5. Reheating for Adjustments If you need to modify the shape or correct an error, simply reheat the material. It can be reheated and reshaped multiple times without losing its structural integrity, making it ideal for iterative design work.
6. Cooling & Hardening: Once the desired shape is achieved, allow Thermo Art to cool naturally. Within a few minutes, it will harden into a durable and stable form, ready for further refinements like sanding, painting, or assembly.
Heating Thermo Art is a straightforward process, but even heat distribution and patience are key to achieving the best results. Whether you’re crafting armor, weapons, or detailed props, mastering heating techniques will allow you to create intricate and durable designs with ease.
To purchase ThermoArt thermoplastic, you can contact the manufacturer Green Stuff World and its authorized distributors directly. Green Stuff World offers high-quality craft materials, ensuring that you receive authentic products designed for professional and amateur use.
By purchasing from Green Stuff World, you gain access to:
✔ Detailed product descriptions and tutorials
✔ Expert customer support for cosplay and prop-making
✔ A wide selection of complementary materials, including tools, paints, and primers
For local and international availability, check Green Stuff World’s official website for a list of authorized retailers near you. Buying from these trusted sources guarantees that you receive genuine, high-performance materials for your creative projects.
Want to know more about the world of cosplay and some of the most commonly used materials? We recommend you read these related articles from our blog: What is cosplay? and Worbla vs ThermoArt Comparative